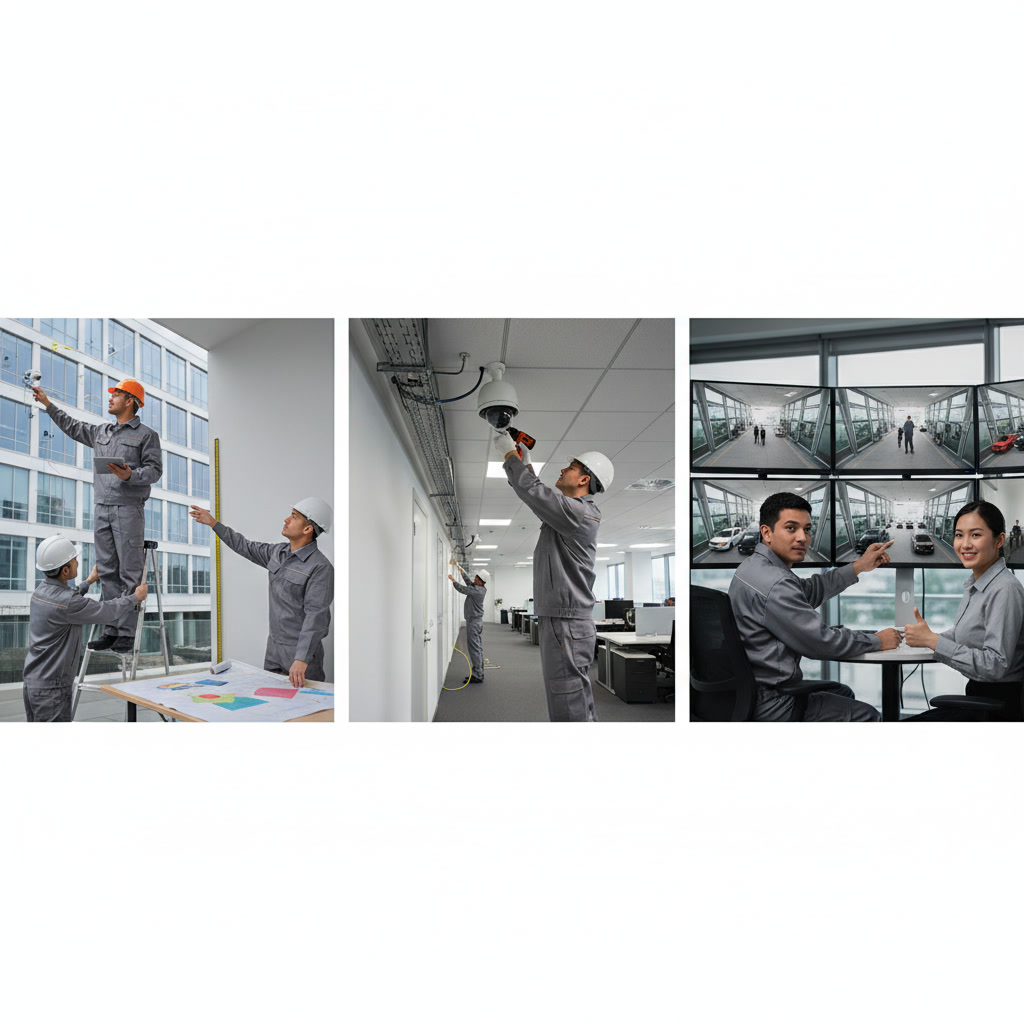
Professional security camera installation follows a structured process designed to deliver reliable surveillance coverage. The security camera installation process begins with a detailed site survey, continues through strategic equipment placement and wiring, and concludes with comprehensive testing to verify every camera functions as intended. Understanding each phase helps property owners make informed decisions and set realistic expectations.
Why Site Assessment Matters Before Installation
The foundation of any successful security system starts with a thorough site evaluation. A professional technician walks your property to identify vulnerable entry points, high-traffic areas, and potential blind spots. This assessment goes beyond simply counting doors and windows.
During this phase, technicians note lighting conditions at different times of day, measure distances for camera placement, and identify obstacles like trees or architectural features that might block views. They also evaluate your existing electrical infrastructure and internet connectivity to determine if upgrades are needed before installation begins.
Property owners should expect this survey to take 30 to 90 minutes depending on property size. The technician will ask about your specific concerns, such as monitoring package deliveries, securing side gates, or keeping watch over parking areas.
Creating a Custom Security Plan for Your Mesa Property
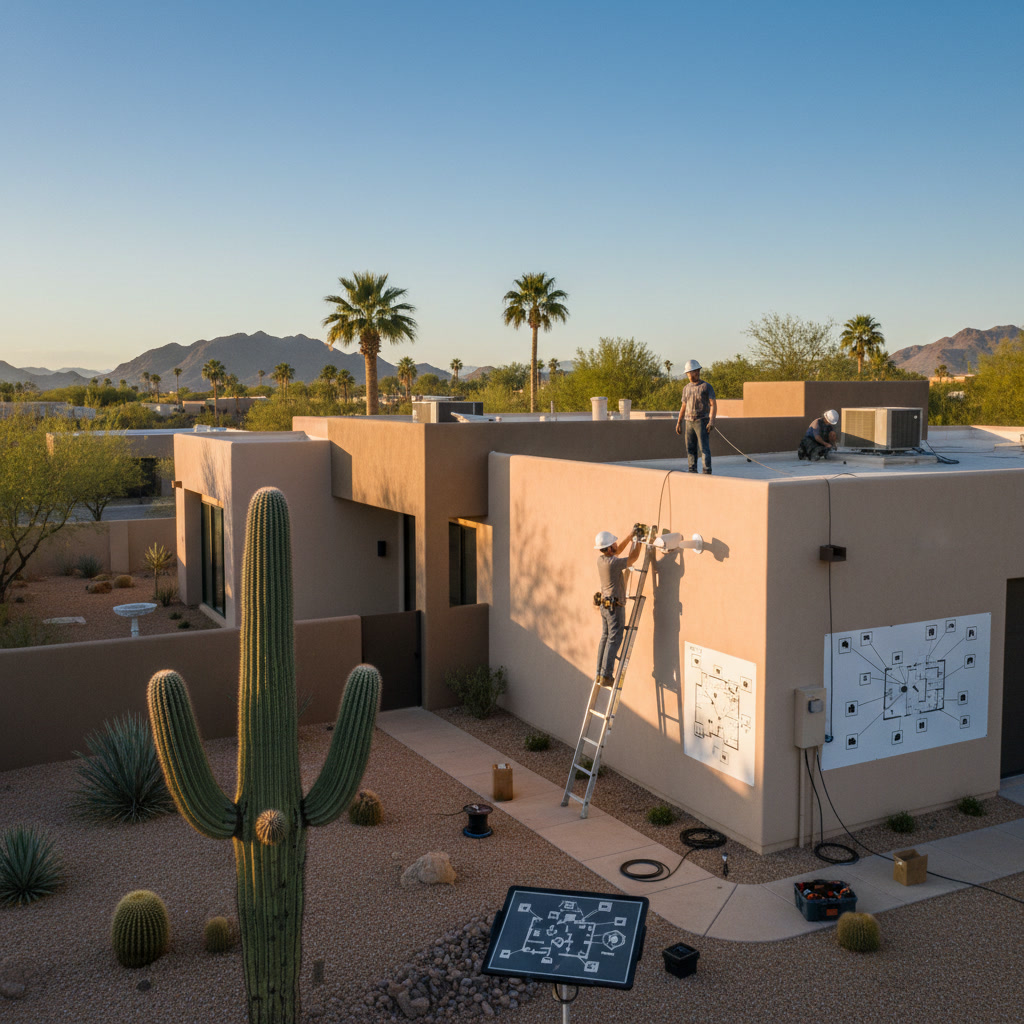
After the site assessment, technicians develop a tailored security plan that addresses your property’s unique layout and vulnerabilities. This plan specifies camera types, mounting locations, viewing angles, and coverage zones. Some areas require wide-angle cameras for broad monitoring, while others benefit from telephoto lenses that capture fine detail at greater distances.
The plan also accounts for night vision requirements, weather resistance ratings for outdoor cameras, and storage capacity for recorded footage. A typical residential system might include four to eight cameras, while larger properties or those with multiple buildings may need 12 or more units for complete coverage.
Equipment Selection and Technical Specifications
Camera selection depends on factors identified during the survey. Bullet cameras work well for long-range outdoor monitoring along driveways or perimeters. Dome cameras suit indoor spaces and covered outdoor areas where a lower profile is preferred. PTZ (pan-tilt-zoom) cameras offer remote control to track movement across wide areas.
Resolution matters significantly for identification purposes. Modern systems typically use 4K or 5MP cameras that capture license plate numbers and facial features clearly. Lower resolution cameras from older systems often fail to provide usable evidence when needed most.
The recording system also requires careful consideration. Network video recorders (NVR) store footage locally on hard drives, while cloud-based systems offer remote access and off-site backup. Many properties benefit from a hybrid approach that combines local and cloud storage for redundancy.
Preparing Your Property for Installation Day
Before installation begins, several preparation steps ensure a smooth process. Clear pathways to mounting locations, secure pets in separate areas, and communicate any access restrictions or security codes. If cameras will be mounted in hard-to-reach areas, ensure ladders or lifts can safely access those spots.
For commercial installations, coordinate with building management about work schedules, parking for service vehicles, and any required permits or insurance documentation. Residential clients should plan for technicians to spend four to eight hours on site for a typical system.
Step by Step Camera Mounting and Positioning
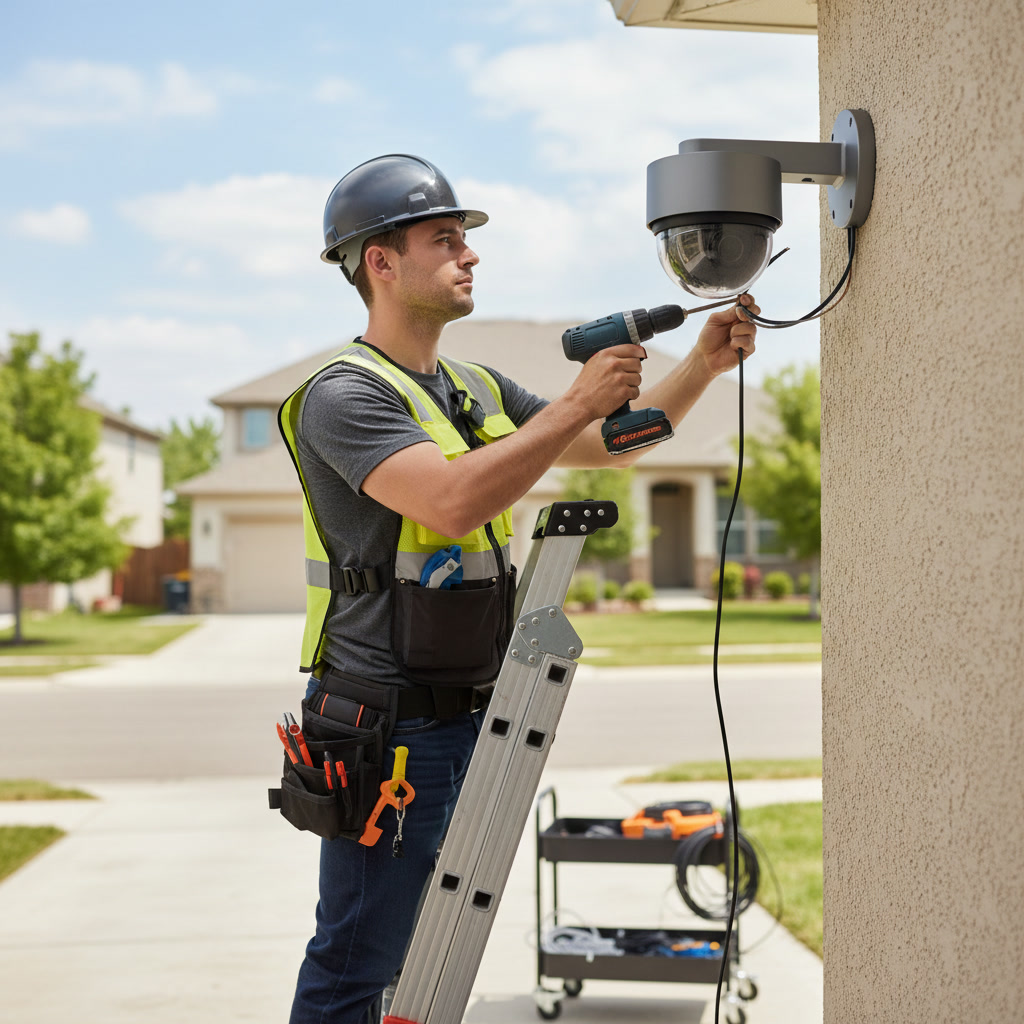
Installation begins with precise mounting of each camera according to the approved plan. Technicians use laser levels and measuring tools to ensure cameras align properly and cover intended areas without gaps. Outdoor cameras require weatherproof mounting with sealed cable entries to prevent moisture intrusion.
Each camera is positioned at the optimal height and angle. Cameras mounted too low become vandalism targets, while those placed too high lose facial recognition capability. The standard mounting height for most applications ranges from eight to 10 feet, balancing security with image quality.
Mounting surfaces also matter. Cameras attached to vinyl siding need backing plates to distribute weight and prevent sagging. Brick or stucco installations require masonry bits and appropriate anchors. Professional installers carry specialized hardware for every surface type.
Running Cable and Establishing Network Connections
Wired camera systems require careful cable routing to maintain a clean appearance while protecting wires from weather and tampering. Technicians run cables through attics, crawl spaces, or conduit rather than leaving them exposed on exterior walls. Proper cable management extends system longevity and maintains property aesthetics.
IP-based cameras connect to your network infrastructure, which may require upgrades to handle video traffic. A four-camera 4K system generates approximately 40 to 80 megabits per second of data. Properties with older routers or limited bandwidth may need network improvements to support reliable camera operation.
Power over Ethernet (PoE) technology simplifies installations by delivering both data and power through a single cable. This approach reduces wire clutter and eliminates the need for individual power outlets near each camera location.
Configuring Recording Systems and Storage
Once cameras are mounted and connected, technicians configure the recording system. This includes setting resolution and frame rate for each camera, adjusting motion detection zones, and establishing retention schedules for stored footage. Higher resolution and frame rates consume more storage space, so balancing quality with capacity is essential.
Most systems retain footage for 14 to 30 days before overwriting old recordings. Critical locations might warrant longer retention periods, which requires additional hard drive capacity. Commercial properties often implement tiered retention where key areas keep footage longer than low-priority zones.
Technicians also configure remote access features that let property owners view live feeds and recorded footage from smartphones or computers. This requires proper security measures including strong passwords, two-factor authentication, and encrypted connections to prevent unauthorized access.
Fine Tuning Camera Settings and Motion Detection
After basic configuration, each camera requires fine-tuning to optimize image quality and reduce false alerts. This includes adjusting exposure settings for areas with challenging lighting, setting backlight compensation for cameras facing windows, and configuring wide dynamic range features that balance bright and dark areas in the same frame.
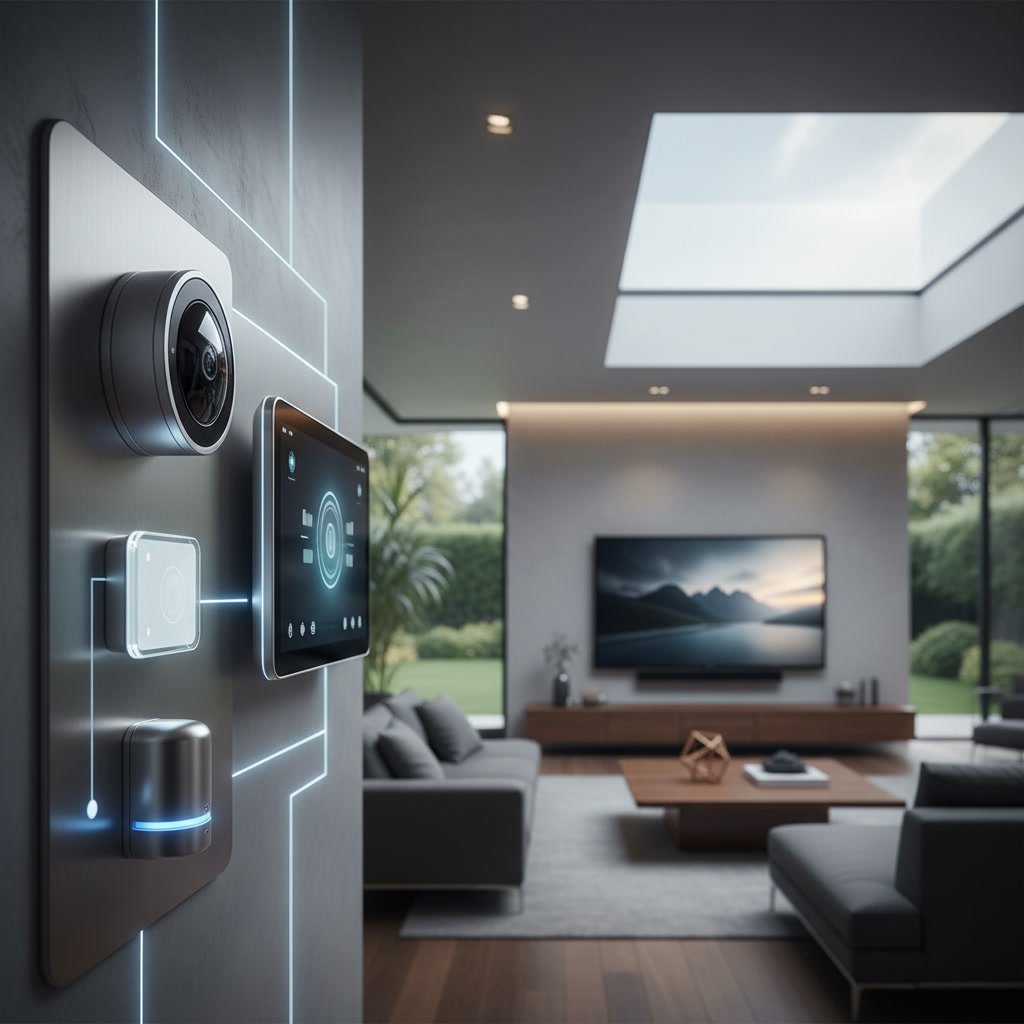
Motion detection zones need careful calibration to trigger recordings when activity occurs while ignoring irrelevant movement like swaying trees or passing cars on adjacent streets. Smart home integration can link cameras with lighting and alarm systems for coordinated responses to detected activity.
Night vision performance requires verification after dark. Infrared illuminators should provide clear images without creating glare or blind spots. Some locations benefit from supplemental lighting that improves color night vision rather than relying solely on infrared.
Comprehensive System Testing and Quality Verification
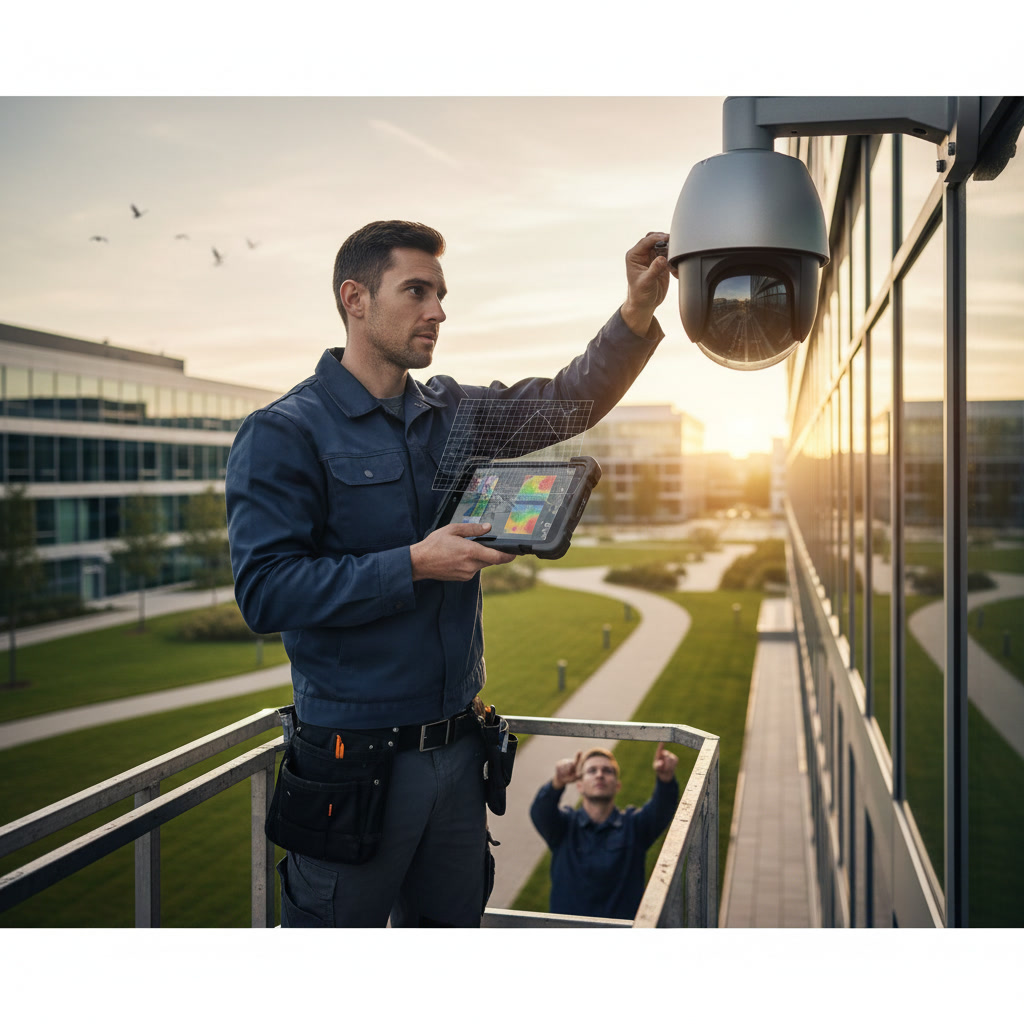
Before completing the installation, technicians conduct thorough testing to verify every component functions correctly. This includes checking live feeds from each camera, verifying recording functionality, confirming motion detection triggers, and testing remote access from multiple devices.
Physical tests include walking through camera coverage areas to confirm sightlines match expectations and no blind spots exist. Technicians review footage playback to ensure video quality meets standards and timestamps are accurate. They also test system behavior during simulated power outages to verify backup systems engage properly.
Network performance testing ensures video streams remain stable under normal and peak usage conditions. This prevents dropped connections or laggy feeds that compromise security monitoring. Properties with multiple surveillance systems should review professional insights on identifying coverage gaps before finalizing installation.
Client Training and System Handoff
The final installation phase involves comprehensive client training. Technicians demonstrate how to access live feeds, review recorded footage, adjust settings, and respond to system alerts. This training should cover both the main control interface and mobile applications.
Property owners receive documentation including system diagrams showing camera locations, equipment serial numbers, warranty information, and troubleshooting guides. Login credentials and network configuration details are provided in writing for future reference.
Reputable installers also explain maintenance requirements such as cleaning camera lenses quarterly, checking cable connections annually, and updating firmware when manufacturers release patches. Understanding these basics helps property owners maintain optimal system performance long after installation concludes.
Ensuring Long Term Security System Performance
Professional security installation provides peace of mind through reliable surveillance coverage. The structured approach from initial assessment through final testing ensures every system component works together seamlessly. Property owners gain not just equipment, but a complete solution tailored to their specific security needs and property characteristics.
Regular system checks help identify issues before they compromise security. Most professionals recommend annual service visits to verify camera alignment, test recording systems, and update software. This proactive maintenance extends equipment life and ensures your investment continues protecting your property effectively.
Pro Home Entertainment LLC brings expertise in surveillance system design and installation throughout the greater Phoenix area. Our structured approach ensures your security cameras provide reliable coverage from day one. Schedule your site assessment by calling +12068194038 to discuss your property protection needs.